

This is how I transfer the shapes of the "Lifts" from the plan to the wood. I use a pen and trace around the edge, and also mark where the verticle section lines go, which I then draw with a ruler. In the above illustration, I traced the outline for the first biggest lift twice, (one lift each side of the boat) and then I used the scissors to cut the pattern along the next smaller lift. If accurate proportions are desired, the lift patterns must be printed exactly full scale from the plan, meaning if the drawing shows something to be an inch, it must be printed exactly one inch. Usually there is a one, two , and three inch scale reference ruler in the drawing. If I print from my Rhino computer program, I know for sure that the lift patterns will be accurate. I don't have much confidence with enlarging things with copiers myself, but if you do, by all means go for it.

I try to arrange the patterns on the 3/4 inch pine carefully so that there are no knots in the way. Each section (Vertical line) is marked so that all of the lifts can be lined up accurately.

This is how the lifts stack to form the shape of one side of the boat.

Section lines for alignment

First I dry fit the Lifts as accurately as I can without glue, clamp it all together,
and insert wooden pegs to prevent sliding in the glue. The pegs wont wreck your tools, or you can use temporary nails but be sure to pull them all out before you start carving!

Then I take it all apart, spread waterproof wood glue between each lift, and
clamp it all back together. You can't have enough giant clamps.


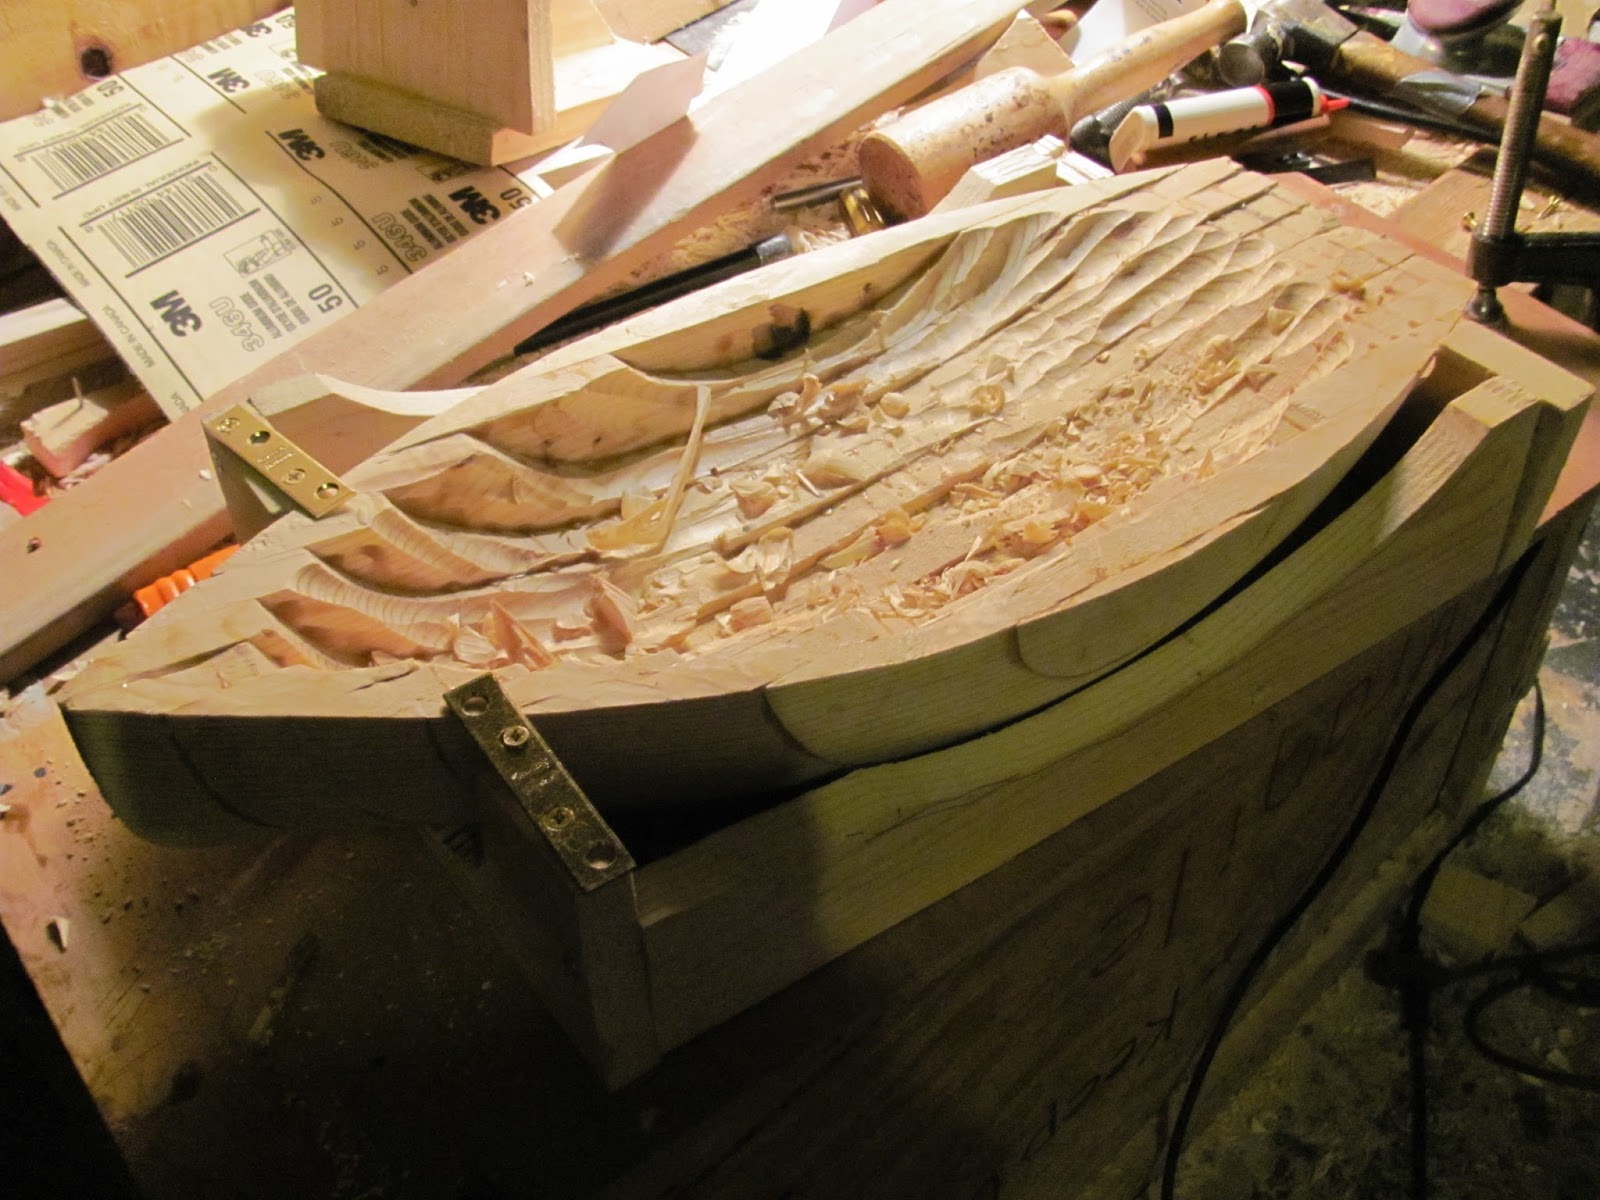
Shaping the hull with block planes, gouges, and wood files. It takes a lot of elbow
grease, and it is important to take your time, turn off your phone, spend a few hours,
get in the zone of just you and the shape of that boat. I like to have a light of some sort that creates a dark background so I can eyeball every curve. For this boat, I shaped the two halves separately first, which made it easier to secure each half with small temporary screws to the bench. That way it won't move around while I'm carving it.

A disk sander works well

Elbow grease, and more elbow grease. (Sanding)

Putting the halves together with epoxy.
I some times use a cradle, like this, to keep it from moving around while I'm
hollowing out the inside.

Can you smell the Pine?

Drilling the tougher parts

Using a rasp, my favorite tool, to further refine the hull

Holding the hull up to the light to judge thickness. You'd be surprised how
thin you can carve it.

Wood filler

No comments:
Post a Comment